
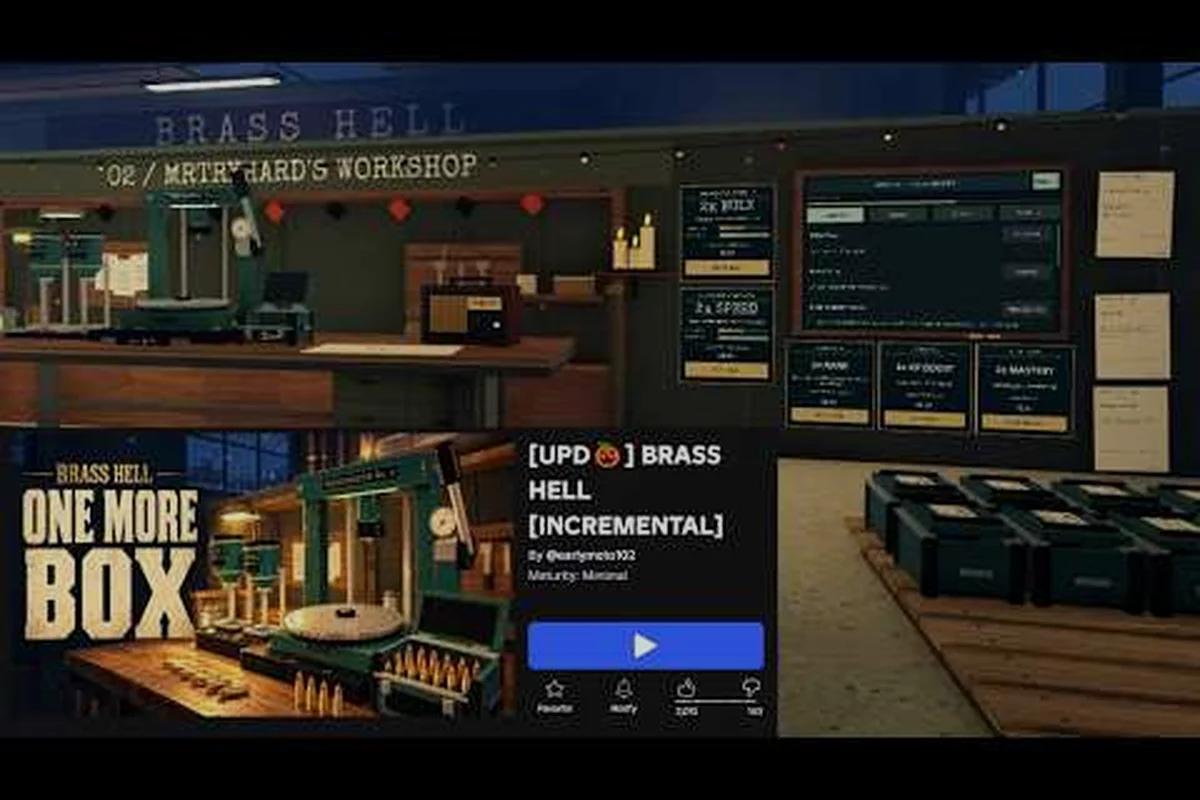
The BRASS HELL spawn location sets your opening position inside the snowbound factory and shapes the most efficient first route. Use the press station as the central landmark, then compare the packing area and delivery point when choosing which side to clear first. Because these interior anchors can be easy to confuse in the factory’s dim corridors, checking the BRASS HELL map size before committing to a route helps prevent backtracking and missed documents.
BRASS HELL Spawn Location: The Factory’s Three Anchors
The BRASS HELL spawn location places you near the factory’s working entrance rather than at an abstract “new game” marker. Its three practical anchors are the press station, the packing area, and the delivery point. From that starting triangle, you can orient yourself, identify nearby exits, and plan where to look for documents and supplies.
This matters because the factory is larger than its opening corridor suggests. Players who learn only where they appear can still become separated from the route they need later. A simple landmark-based approach provides more reliable navigation than trying to memorize every doorway at once.
| Starting anchor | What it establishes | Best planning use |
|---|---|---|
| Press station | Your initial industrial reference | Check the first branch and nearby work areas |
| Packing area | The route toward stored goods | Look for supplies and side passages |
| Delivery point | The factory’s exterior-facing connection | Orient returns and check for outdoor routes |
Reading the opening area
The first task is to stop treating the spawn as one precise doorway. Instead, locate the nearest recognizable workplace, note the direction of the main passage, and identify where that passage leads. The press station is usually the clearest early anchor because its machinery and repetitive layout are harder to confuse than a generic corridor.
Walk until you can name at least two nearby features. For example, you might remember that the press station sits before the packing junction and that the delivery route branches beyond the loading area. This creates a simple mental map without requiring every prop to be logged.
Building a reliable landmark loop
A three-anchor loop works well because each landmark confirms both position and direction. Start at the press station, continue toward the packing area, and use the delivery point as the third reference. If you are unsure where you are, move until one of those recognizable spaces comes back into view.
| Situation | Best response | Landmark to confirm |
|---|---|---|
| You just started | Follow the main industrial passage | Press station |
| You are carrying materials | Trace the route back toward storage | Packing area |
| You want to reset your orientation | Find the loading route | Delivery point |
| A door looks familiar | Check nearby machinery | Press station |
| Snow is blocking visibility | Use structural lines, not color | Packing junction |
This structure also prepares you for the broader factory map and station guide, where the press station, packing area, and delivery point can be compared against the surrounding industrial passages. Knowing that the factory interior is divided into distinct production stations helps you interpret a wall, door, or machinery cluster correctly: a landmark identifies your position, while its connection to the main industrial passage reveals the safest route back toward the BRASS HELL spawn location instead of committing you to a dead-end corridor.
Understanding the BRASS HELL Map Size and Layout
The BRASS HELL map size is best understood as a compact network of distinct production zones instead of a single open field. Its playable spaces branch around machinery, storage spaces, offices, and delivery routes. The BRASS HELL spawn location therefore works as the root of your navigation rather than the limit of the entire map.
Because available factual material does not provide a verified square-distance measurement or an authoritative area count, avoid treating an unsupported number as fact. The practical map-size test is how many separate spaces you can revisit and distinguish. If two locations look similar, a door identifier, machine type, or route color can still help.
Exterior versus interior space
The delivery point acts as the main exterior reference, while the press and packing areas belong to the factory interior. This distinction matters when visibility drops during a blizzard. Snow can erase distant shapes, but interior walls, belts, machines, and loading structures remain consistent reference points.
| Map layer | Reliable landmarks | Main navigation challenge |
|---|---|---|
| Exterior approach | Delivery point, loading structures, open yard | Reduced visibility and similar routes |
| Production floor | Press station, belts, large machinery | Dense sightlines and branching aisles |
| Storage and packing | Packing area, containers, stacked supplies | Repetitive shelves and dead ends |
| Administrative spaces | Doors, counters, narrow corridors | Interiors that look structurally similar |
For a closer breakdown of separate rooms and connected routes, the warehouse and factory-area reference turns the opening layout into a broader checklist of locations worth checking. When tracing a BRASS HELL spawn location, compare the delivery point with the press station, belts, packing area, containers, and administrative corridors; the table’s three exterior landmarks and four interior layers help distinguish whether a possible spawn was seen through the factory windows, along the loading structures, or deep inside the production floor. This room-by-room route check matters because similar aisles, dead ends, and low visibility can otherwise make separate spawn areas look like one location.
Why the factory feels bigger indoors
A limited outdoor field can lead into numerous interior spaces. Long sightlines make the exterior feel compact, while corridors repeatedly reveal new rooms and vertical changes. Your sense of scale should therefore track reachable spaces, not the distance between the first and last marker.
Track discovery in four simple states: unseen, seen, cleared, and documented. This prevents a familiar corridor from counting as a newly explored area. It also makes it easier to identify a genuine loop or shortcut after retracing the route from the delivery point.
A compact map log
Use a simple table or note with four fields. Record the anchor, its neighbors, any distinctive prop, and whether a document was found. The goal is not cartography for its own sake; the notes should reduce hesitation when you need to return for a resource or clue.
| Anchor | Neighbor | Distinctive prop | Document status |
|---|---|---|---|
| Press station | Packing junction | Repeated industrial presses | Seen or cleared |
| Packing area | Delivery route | Stacked crates or wrapping station | Documented when found |
| Delivery point | Exterior approach | Loading structure or yard boundary | Checked on return |
| Office route | Production floor | Narrow door or service passage | Unseen until explored |
This makes the BRASS HELL interior guide usable when you must identify a spawn location under pressure. For example, if the storm blocks the exterior approach, the repeated industrial presses beside the packing junction can confirm that you are near the Press station, while stacked crates or the wrapping station identify the Packing area. Checking those anchors prevents confusing similar factory spaces and gives your spawn-location notes a clear verification point, even when visibility is poor.
BRASS HELL Interior Guide: Press, Packing, and Delivery Routes
The press station, packing area, and delivery point form the reference spine of the factory. The press station represents active production, the packing area represents storage and transfer, and the delivery point represents movement toward the exterior. Learning the transition between those functions is the fastest way to understand the BRASS HELL interior guide.
Press station: the production anchor
Begin by identifying machinery, belts, heat or vibration cues, and repeated work stations. The press area should feel different from storage because equipment is positioned for a process rather than for holding finished goods. If you can recognize that functional contrast, you can identify the area even when the surrounding corridors are partially obscured.
Players report that taking a mental snapshot of the widest industrial space helps during repeat runs. Compare your current view with that snapshot: are the presses ahead, behind, or across a junction? This directional check is more reliable than remembering a single object when several similar rooms come into view.
Packing area: the storage anchor
The packing area should be identified by stacked materials, containers, tables, or a transfer line. It is often a natural place to pause because the route density is lower than in the main production floor, but it should not be treated as automatically safe or complete. Side passages and documents can sit near the storage perimeter.
| Room function | What to look for | Best verification |
|---|---|---|
| Press station | Repeated heavy machinery | Machinery layout and belt direction |
| Packing area | Containers, stacks, wrapping surfaces | Storage arrangement and side opening |
| Delivery point | Loading bay or exterior-facing structure | Wind, snow, and yard sightlines |
| Office | Counters, doors, paperwork surfaces | Smaller scale and narrower corridor |
Delivery point: the exterior anchor
The delivery point is valuable because it changes the visual texture of exploration. Instead of enclosed factory walls, you gain loading structures and exposed ground. Even when a blizzard reduces visibility, the edge of the yard, a loading platform, or the entrance back inside can confirm that you have reached this part of the map.
Use the delivery point to reset your mental map. From there, retrace the route toward packing and then the press station. If every stage appears in the expected order, you have a strong orientation check without opening a map or relying on a marker.
The delivery-area exploration guide helps identify exposed spaces, alternate approaches, and overlooked side routes around loading zones. For a BRASS HELL spawn location search, treat these exterior features as navigation clues rather than landmarks alone: compare the yard’s loading platform and doorway positions, then check whether a side passage reconnects to the packing area or the press station. These comparisons can distinguish the actual delivery point from similar loading structures elsewhere on the factory map, while a blizzard-obscured doorway or platform edge preserves your route back indoors.
BRASS HELL Factory Secrets and Exploration Shortcuts
The most useful BRASS HELL factory secrets are not merely hidden rooms; they are visual inconsistencies that reveal a new route. A doorway hidden behind stacked goods, a passage aligned with a wall seam, or a room that connects back near the delivery area can all shorten repeated movement through the factory.
Look for discontinuities
Compare the route with its surroundings. A door that opens directly into the wrong type of room may indicate a loop. A wall line that continues beyond an apparent corner may conceal a passage. A window or opening that provides a view of an earlier landmark can confirm that two spaces meet.
| Secret clue | Interpretation | Action |
|---|---|---|
| A familiar machine appears from a new angle | Two routes connect nearby | Mark the connection |
| A distant light matches an interior fixture | You can see across spaces | Use it as a temporary compass |
| Snow enters through a non-door opening | Exterior wall or broken entrance | Inspect the wall line |
| A corridor ends at a cluttered wall | Possible blocked or concealed route | Check the edges and usable gaps |
| The same landmark appears twice | The map may loop back | Compare nearby details |
Do not confuse clutter with a secret
Every suspicious pile is not a hidden passage. Search for clear interaction cues: a change in floor material, a door frame, an object that can be moved, or an opening large enough to pass through. If the obstruction cannot be manipulated and no route continues around it, record the area as checked rather than repeatedly searching the same wall.
Favor repeat loops
Once you identify a useful circuit, make it the default exploration loop. A common pattern is delivery point, packing area, press station, then the next unexplored branch. This is efficient because the circuit uses three recognizable landmarks and naturally brings you back to a known decision point.
The factory lore and location guide can connect unusual spaces to the industrial complex’s narrative, but lore clues should remain separate from confirmed navigation facts. For spawn-location testing, record the exact arrival point, nearby machinery, corridor orientation, and reachable exits; this makes it easier to distinguish the intended BRASS HELL spawn from an industrial alcove that merely resembles it. Repeated loops are useful here because the same delivery point, packing area, and press station provide stable reference landmarks, while the next unexplored branch helps verify whether the location leads deeper into the factory interior.
BRASS HELL Document Guide and Documents Explained
BRASS HELL documents explained through location, context, and route value, rather than as isolated collectibles. A document is easier to remember when you know what space contains it, what nearby landmark confirms the room, and how returning there affects your exploration loop.
Community reports indicate that document hunting benefits most from a room-by-room checklist, since players frequently remember the document type but not the route. Confirm exact reward claims against current in-game information, and treat details that vary by version or difficulty as unverified until checked during the current playthrough.
Prioritize documents near route junctions
Documents placed beside a decision point are often easier to revisit than documents buried at the end of a long branch. Prioritize rooms near the press-to-packing connection, the packing-to-delivery transition, and any side passage that loops into a previously visited zone.
| Priority | Location type | Why it helps | Ideal note |
|---|---|---|---|
| 1 | Junction room | Confirms a central route | Name all connected directions |
| 2 | Adjacent side room | Extends a known branch | Record door and landmark clues |
| 3 | Exterior route | Reorients the whole map | Note the inward-facing entrance |
| 4 | Dead-end room | Confirms the branch is exhausted | Mark cleared |
Match documents to the BRASS HELL document guide
A useful record includes the document’s name, room type, nearby prop, and whether it opens a later route. For example: “office notice, narrow corridor beyond packing, counter on the left, unlocks understanding of a facility event.” This is more useful than writing only the item title because the clue remains meaningful even after several later discoveries.
Confirm the BRASS HELL documents explained details
The safest interpretation method is to compare the document’s text with the physical evidence around it. Does it mention a room type, a production step, a delivery route, or an incident? If so, look for that feature in the environment. The resulting BRASS HELL documents explained notes combine narrative meaning with practical navigation.
| Document clue | Environmental check | Navigation benefit |
|---|---|---|
| Mentions production | Presses, belts, or workstations | Confirms the production wing |
| Mentions cargo or packages | Packing supplies or loading area | Connects storage to delivery |
| Mentions personnel | Offices, counters, or staff areas | Identifies administrative spaces |
| Describes an incident | Damage, barriers, or altered routes | Reveals changed circulation |
Build a return checklist
After picking up a document, mark its room as collected and note the route required to return. Save nearby branch locations for the same trip instead of making a dedicated journey for each pickup. A useful grouped route might run from the press station through packing, then to the delivery point, while checking every adjacent door marked as unresolved.
This method also improves the broader document locations and hidden-room reference, giving every collected page a clear place in your route notes. For example, recording a sheet’s source room beside its required return door prevents a successful pickup from becoming a repeated full-factory search. Pair each document entry with the nearby unresolved branch, then mark the connection complete only after both the collection room and exit route have been checked against the factory map.
Practical Route-Planning Checklist for the Snowbound Factory
Reliable navigation in the snowbound factory depends on repeatable checkpoints. Treat the BRASS HELL spawn location as a sequence of confirmations rather than a single destination: note the industrial stairway, adjacent machinery, and nearby doorway, then compare that position with the BRASS HELL interior guide and factory-secret clues. For example, if the spawn appears beside the same machinery bay after a restart, the route is stable; if it shifts to another interior entrance, use the BRASS HELL map size and document guide to distinguish a fixed spawn point from a room-scale reset, preventing a short detour from becoming a long, uncertain return trip.
Before leaving an anchor
-
Name the anchor without checking the map.
-
Identify the main direction of travel.
-
Mark the next junction in your notes.
-
Record whether the nearby side room is unresolved.
-
Save a checkpoint mentally before entering a narrow passage.
| Checkpoint | Verification | Decision after verification |
|---|---|---|
| Press station | Machinery is in the expected arrangement | Follow the production or packing branch |
| Packing junction | Stacks and transfer route are visible | Inspect the side room or continue |
| Delivery point | Exterior conditions are visible | Enter again or trace a new yard route |
| Side corridor | Entrance details match your note | Search deeper or mark it exhausted |
When visibility drops
In a storm, rely on structure rather than distant objects. Look for wall seams, overhead supports, consistent floor edges, and the direction of machinery or containers. Turn around whenever an anchor fails to appear where expected, because continuing in the wrong direction usually creates more correction work than returning immediately.
When a document is collected
Mark three things in sequence: document collected, branch status, and next unresolved route. This prevents the common mistake of revisiting a room without checking a nearby door. If a document sits in a dead end, also note the last visible anchor before it so you can return efficiently.
When the route feels circular
Compare three details rather than relying on the general impression: the type of machinery, the wall geometry, and the direction of the next passage. If one detail differs, you may have reached a similar-looking side room. If all three match, retrace one anchor to confirm whether the space belongs to the same production branch.
BRASS HELL Spawn Location Route Summary
The BRASS HELL spawn location becomes manageable when the press station, packing area, and delivery point are treated as a connected set of orientation checks. Start by identifying the production zone, trace the route through storage, and use the delivery point to reset your bearings whenever the factory begins to feel repetitive.
The broader BRASS HELL map size, interior routes, and document locations all become easier to remember once every new discovery is attached to one of those anchors. Record unclear doors, compare landmarks, and revisit the route in a consistent loop; that simple system is the most dependable foundation for finding documents, spotting hidden connections, and exploring the factory without repeated backtracking.
Frequently Asked Questions
Where is the BRASS HELL spawn location?
The BRASS HELL spawn location begins around the factory’s initial industrial entrance, where the press station provides the clearest early reference. From there, the route progresses toward the packing area and delivery point. Treat these as three connected anchors rather than one exact coordinate, because recognizing the relationship between them is easier than memorizing a single doorway.
What are the three anchors around the BRASS HELL spawn location?
The three main anchors are the press station, packing area, and delivery point. The press station marks active production, the packing area identifies storage and transfer spaces, and the delivery point leads toward the exposed factory grounds. Together they let you confirm location, direction, and likely route even when snow or an unfamiliar interior reduces visual clarity.
Is the BRASS HELL map size large enough to require notes?
Notes are useful even if the overall factory is compact because several production and storage rooms can look alike. Record distinctive machinery, wall geometry, nearby doors, and the anchor reached most recently. The three-anchor loop also reduces ambiguity: move from press to packing to delivery, then retrace any segment when your position becomes uncertain.
Where should players search for BRASS HELL documents?
Search near junctions, side rooms, and exterior transitions before committing to long dead ends. The BRASS HELL document guide works best when each entry records the nearby landmark, room type, route from the last anchor, and whether adjacent spaces remain unexplored. This turns document hunting into a repeatable circuit instead of a series of uncertain searches.
What do BRASS HELL documents reveal about the factory?
BRASS HELL documents can connect facility operations with its history by referencing production, cargo, personnel, or an incident. Compare those details with the surrounding environment: presses support production clues, crates support packing clues, and loading structures support delivery references. This BRASS HELL documents explained approach adds navigational context while preserving the uncertainty of personal records.